How to Replace a Roland Micro Cube Speaker
A few years ago I dropped my Roland Micro Cube guitar amplifier and ripped the speaker cone. As a result, it would make terrible farty noises if played above a certain volume. Last week I replaced the speaker - here are the steps I followed.
Tools needed: a screwdriver, a phone, and a credit card. No soldering iron required.
-
Call Roland Customer Support and ask for a replacement Micro Cube speaker, model number W120FP70-00C. It costs about $30 with tax and shipping. Mine arrived after about two weeks.
-
When you have the new speaker, set the Micro Cube down with its grill facing up. Unscrew the grill, then unscrew the old speaker from the mount.
-
Gently remove the old speaker from the mount, so its connectors are visible.
-
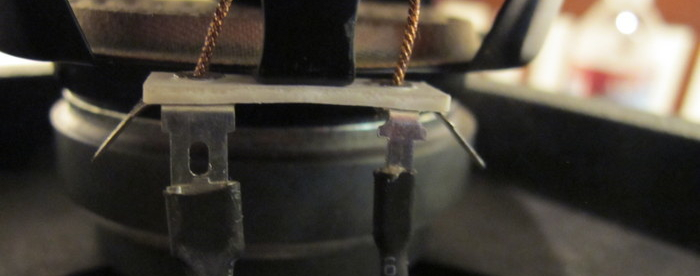
Pull the connectors out of the old speaker - they’ll slide off with a little force, as shown in the above photo - and connect them to the new speaker. The connectors are different sizes, so don’t worry about connecting them incorrectly.
-
Mount the new speaker and reattach the front grill.
-
Plug in your guitar and rock out.
This is the most straightforward method I’ve seen to replace a Micro Cube’s speaker. If you want to try a non-Roland speaker, there are tutorials for that online too. Happy jamming!
